CloudFormation + Ansible로 IaC (Infrastructure as Code)로 구성해 두었습니다.
What are we going to build?
In this article series, we will build a simple Node.js app that hosted on AWS EC2 instance. Furthermore, we are going to configure automation server and host Jenkins on a separate AWS EC2 instance. Jenkins will help us to automate the CI/CD process. For every code change from our Node.js app repository, Jenkins will get notified and it will pull the changes into our Jenkins server, install dependencies and run the integration test. If all tests pass, Jenkins is going to deploy the app to the node server. If it fails, developer will be notified.
In this article?
EC2 Setup
Installing Jenkins
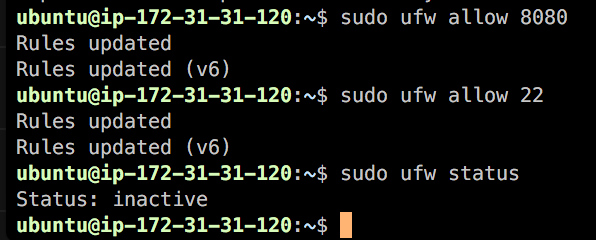
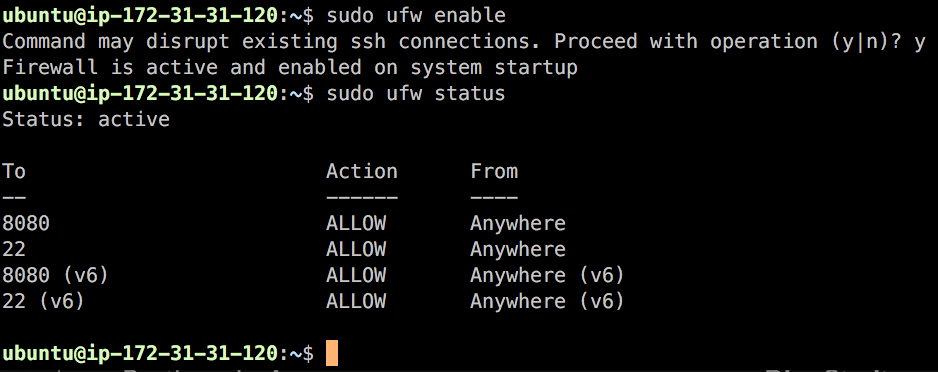
Configuring Firewall Settings
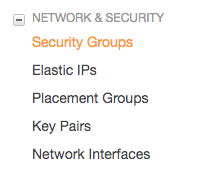
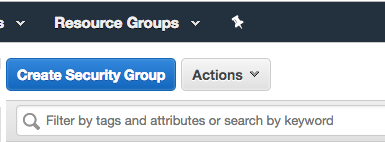
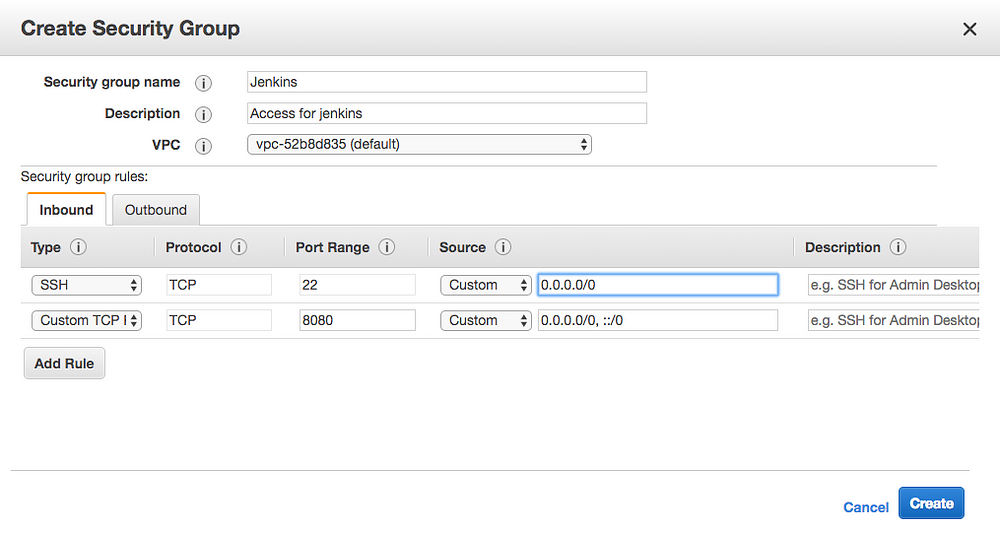
Setting up EC2 Security Groups
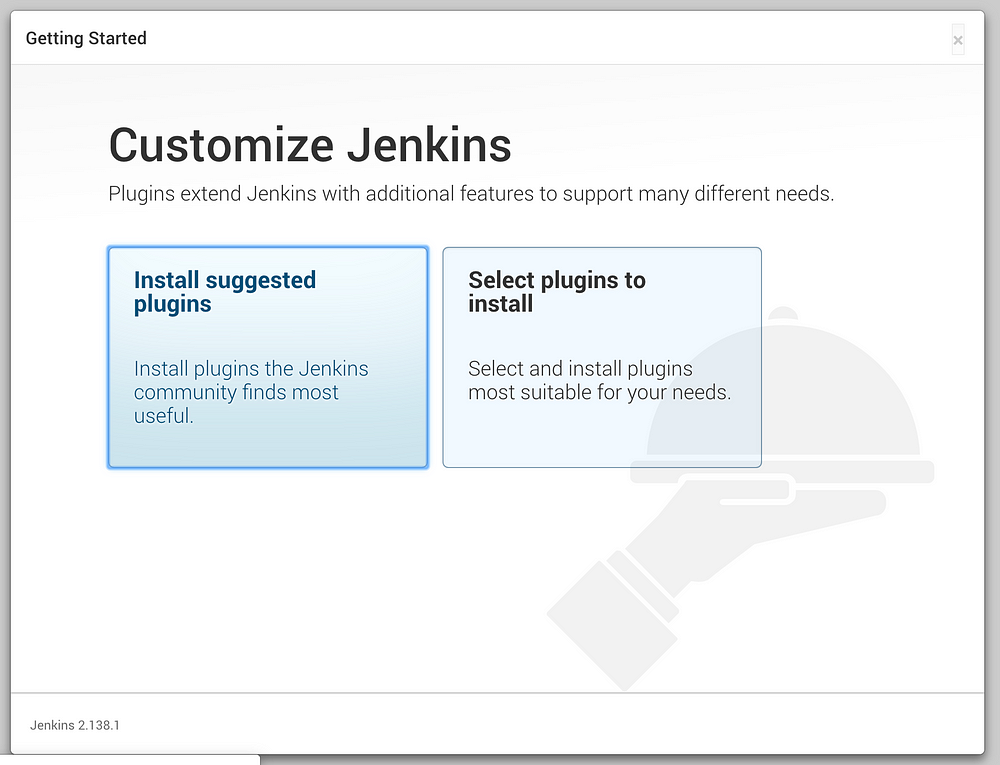
Complete Jenkins First Setup
Prerequisites:
Before we start there are some assumed preconditioned technological setups:
You have an Amazon Web Services account, if not please sign up, and for first time users you will be eligible for the free tier. The AWS Free Tier enables you to gain free, hands-on experience with AWS.
Your Amazon EC2 Key Pairs are set up, if not please click here to follow Amazon’s walkthrough on Creating a Key Pair Using Amazon EC2.
EC2 Setup
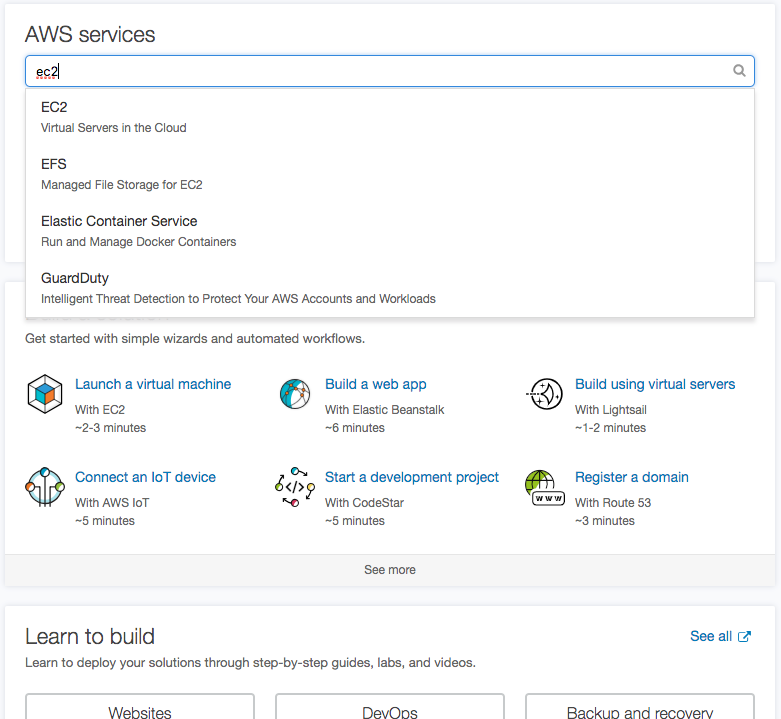
Log into your AWS console search for and select EC2
Select Launch Instance
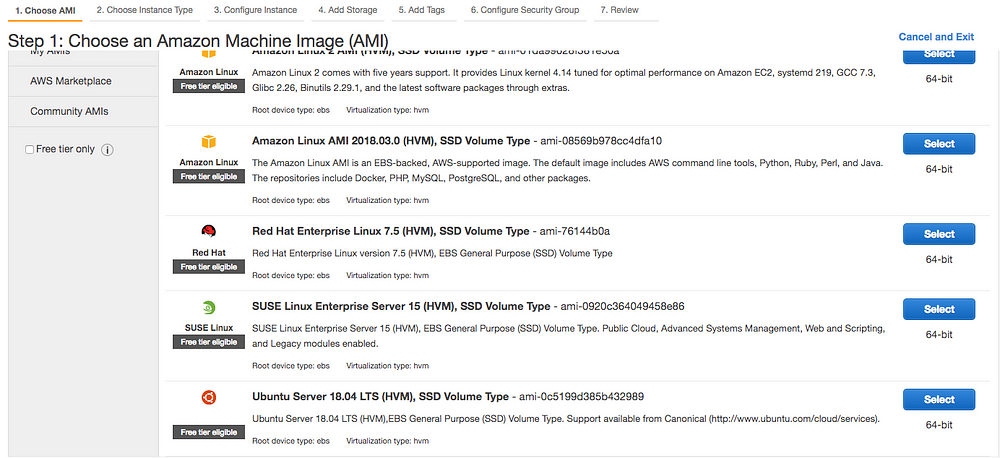
Step 1: Choose an Amazon Machine Image (AMI) Select the free tiered Ubuntu Server 16.04 LTS
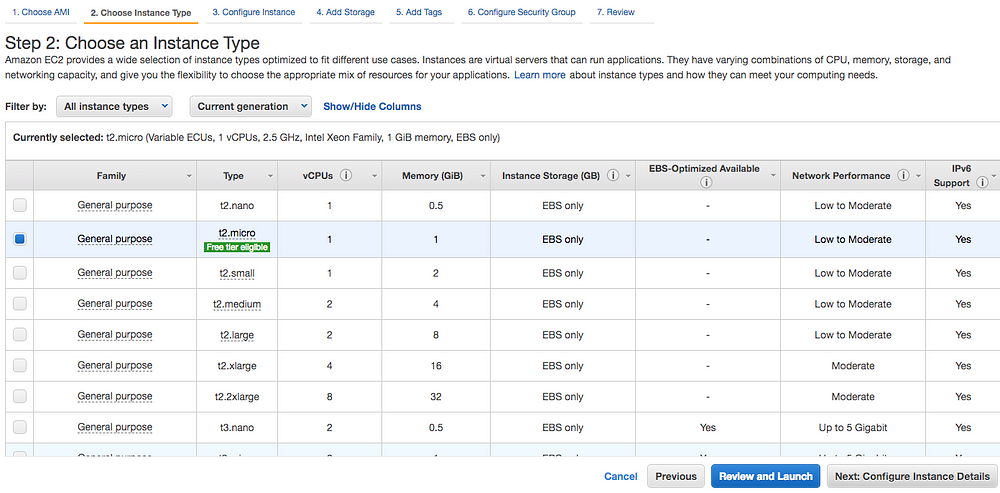
Accept the defaults for Step 2: Choose an Instance Type and choose Next
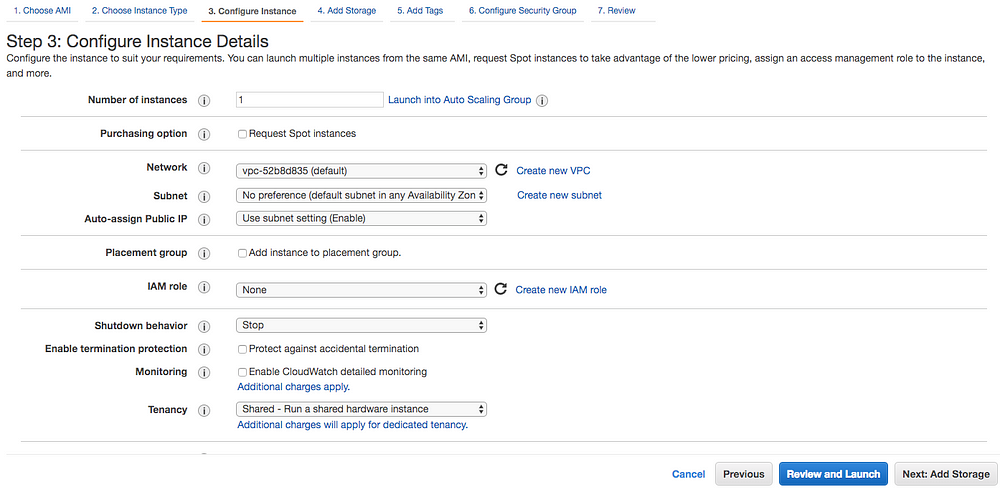
Accept the defaults for Step 3: Configure Instance Details
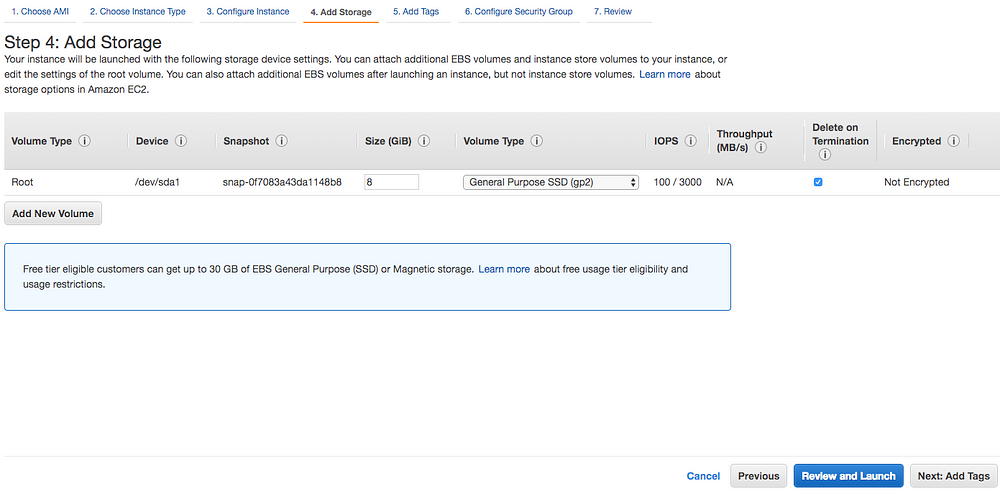
Once completed select Add Storage and accept the defaults for Step 4: Add Storage
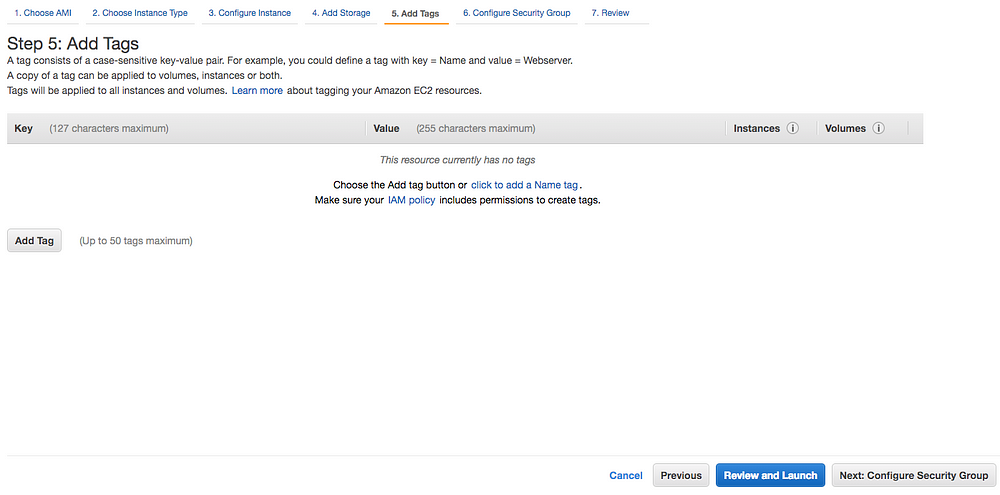
Accept the defaults for Step 5: Add Tags
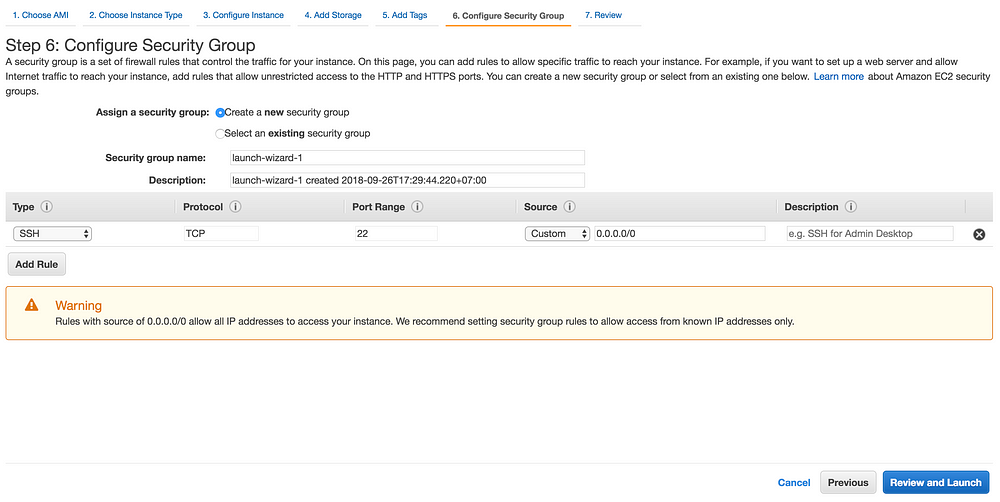
Step 6: Configure Security Group and choose Create a new security group
Confirm that port 22 is configured to allow access to your VM
Finally select Review and Launch
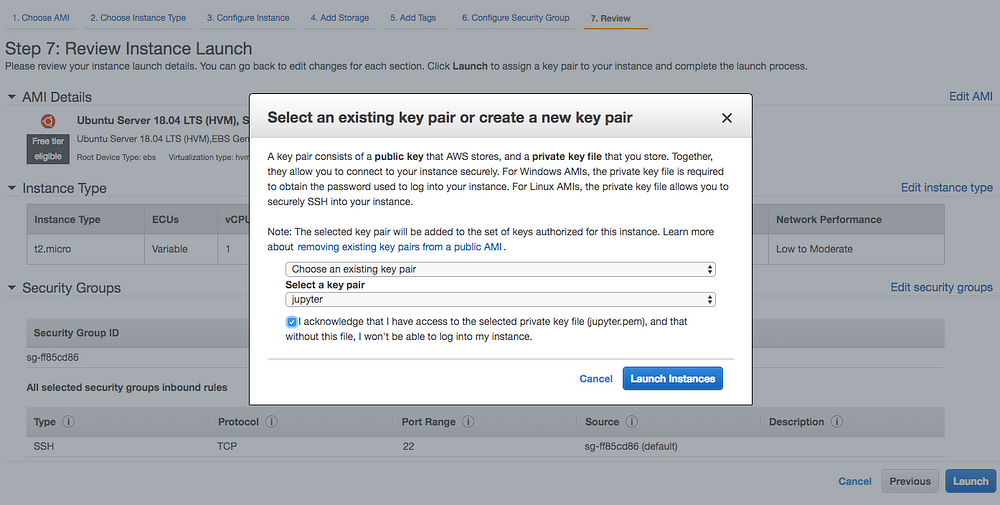
Step 7: Review Instance Launch
After you select Launch you will be prompted to Select an existing key pair or to create one
I have previously set up a key pair and I will select Choose an existing key pair
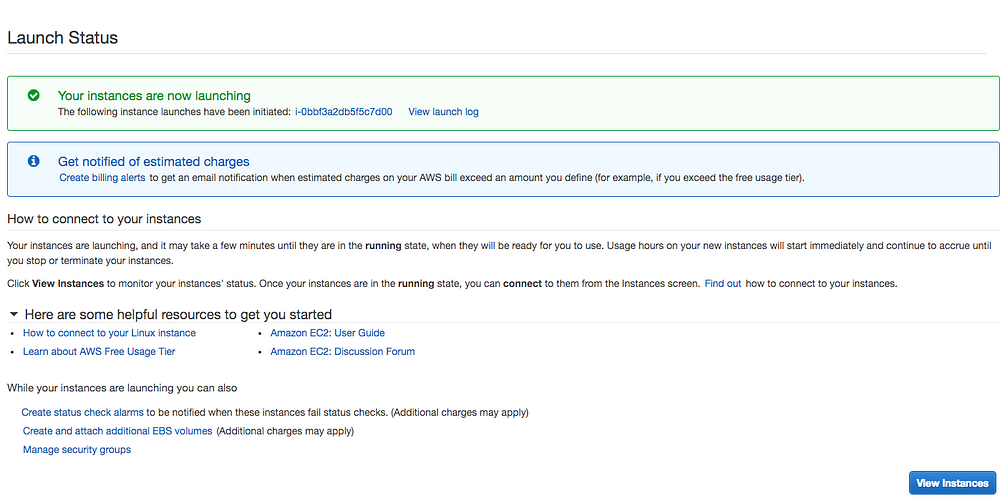
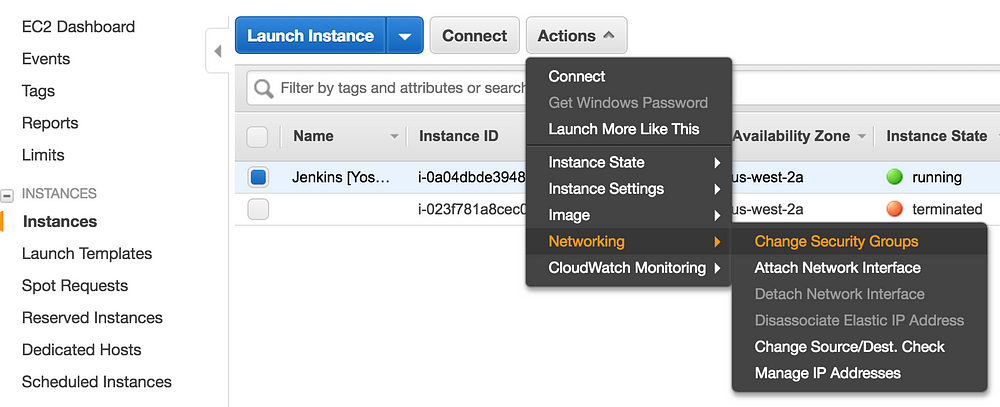
After you’ve launched your instance you can scroll to the bottom of the page and view your instance
If you are unfamiliar with how to connect to your instance AWS gives you a brief tutorial on how to do so. In your EC2 console view select Connect
You will be presented with the below guide on how to connect over SSH, please take notice of your IP address
The IP address of your virtual server can also be found in the EC2 console page
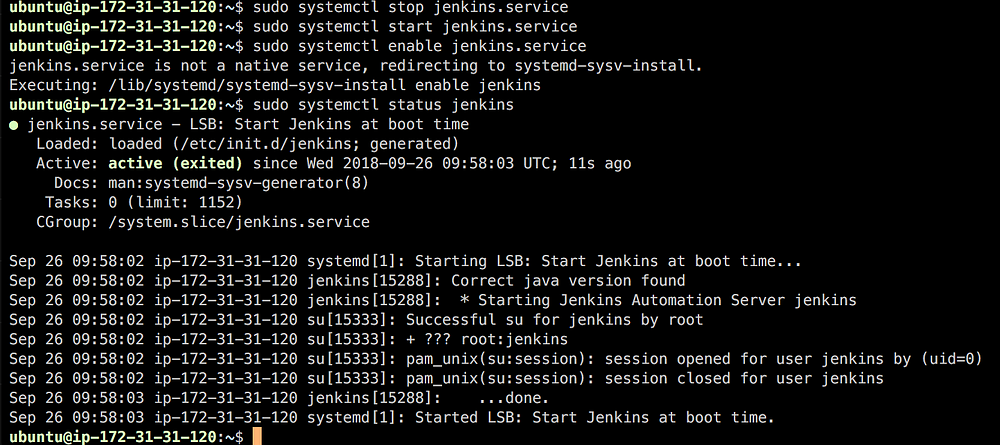
Installing Jenkins
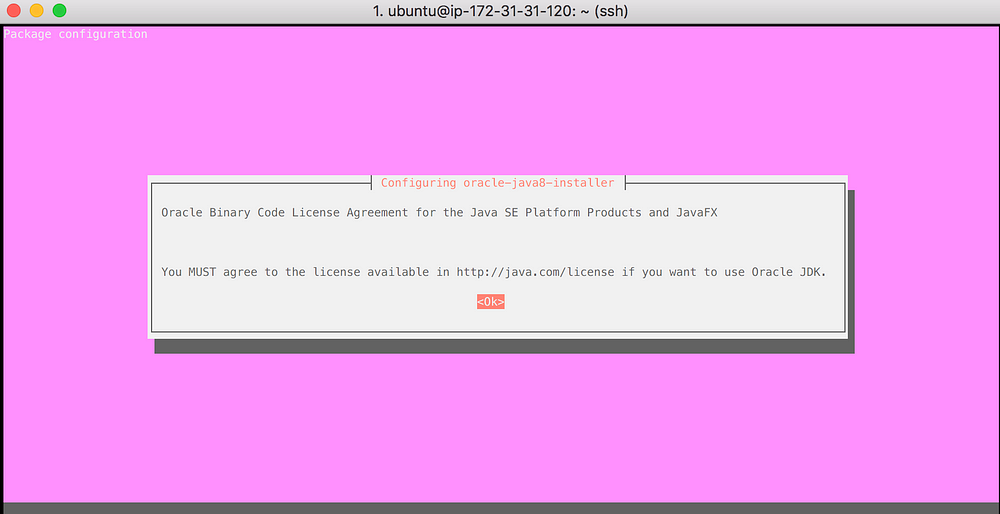
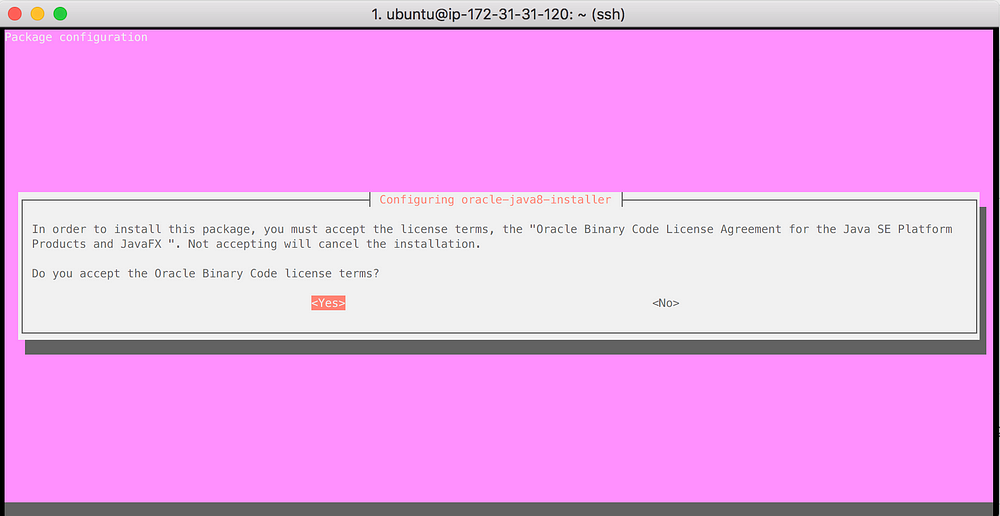
Try to connect to your instance over SSH and then follow this steps below
The IP address of your VM can be found in the EC2 console page.
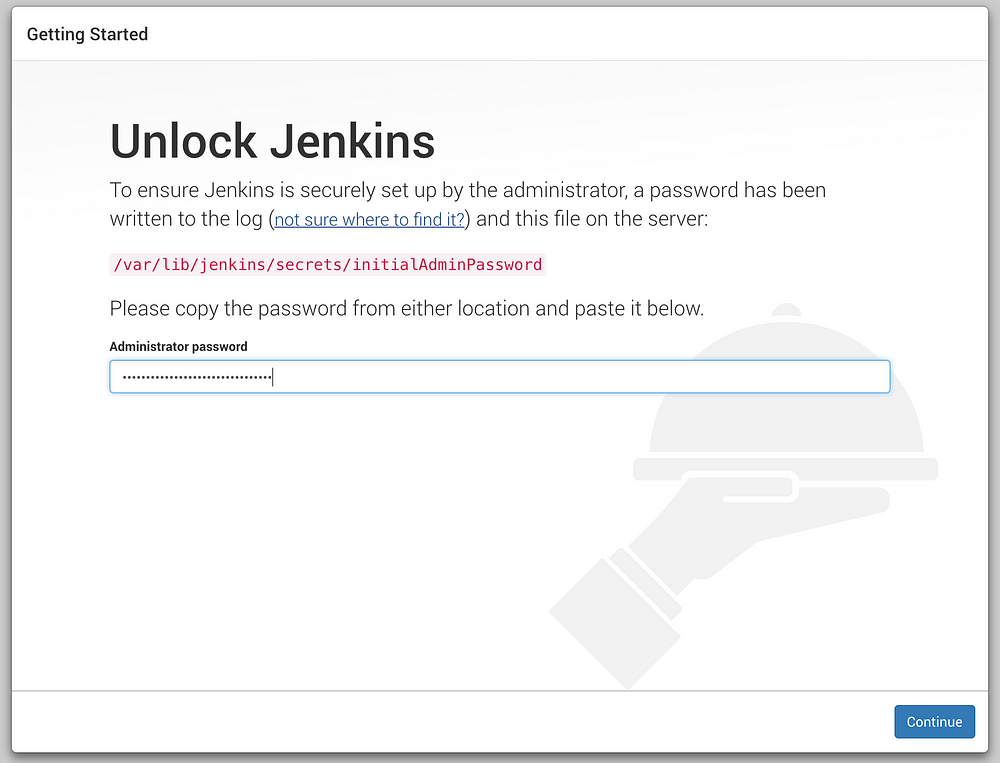
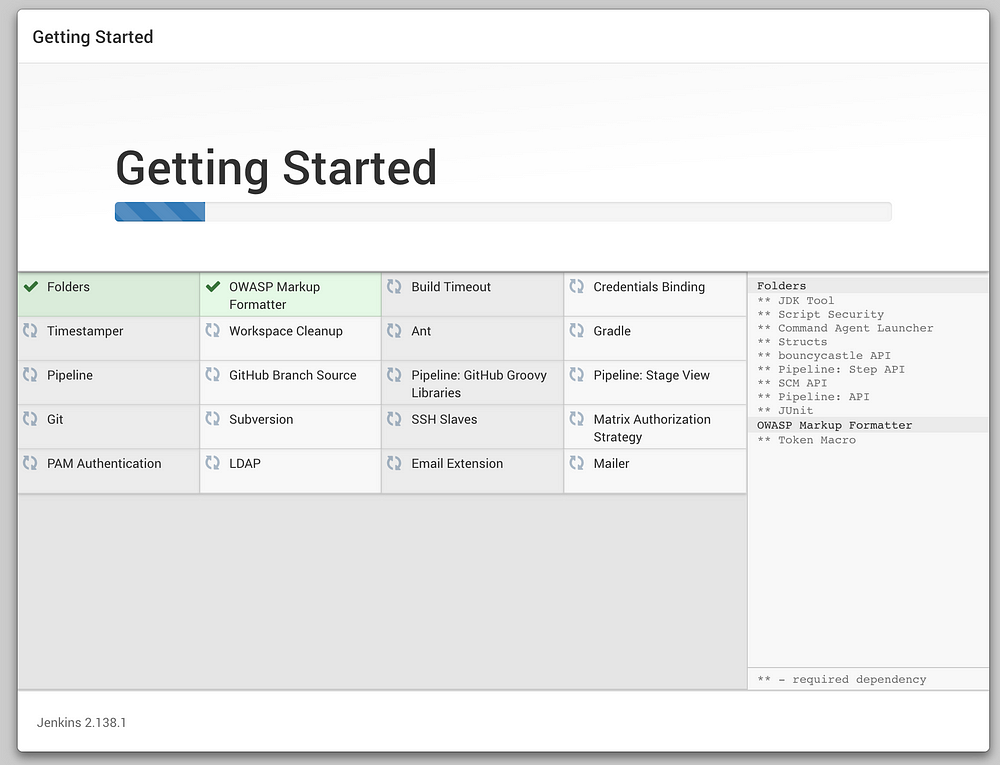
Once you have successfully navigated to your VM’s public IP address in your web browser you will be prompted to Unlock Jenkins. So, jump back into your terminal session and run the below command for the initial password