What are we going to build?
In this article series, we will build a simple Node.js app that hosted on AWS EC2 instance. Furthermore, we are going to configure automation server and host Jenkins on a separate AWS EC2 instance. Jenkins will help us to automate the CI/CD process. For every code change from our Node.js app repository, Jenkins will get notified and it will pull the changes into our Jenkins server, install dependencies and run the integration test. If all tests pass, Jenkins is going to deploy the app to the node server. If it fails, developer will be notified.
In this article?
- Set GitHub Repository
- Create Node.js App
- Writing Test
- Serve Node App
- Setup GitHub SSH Configuration
- Adding a New SSH Key to your GitHub account
- Clone the repository
Prerequisites:
Before we start there are some assumed preconditioned technological setups:
- You have an GitHub account, if not please sign up.
- You’ve already install the latest Node.js and Node Package Manager on your local, if not please install them first.
Set GitHub Repository
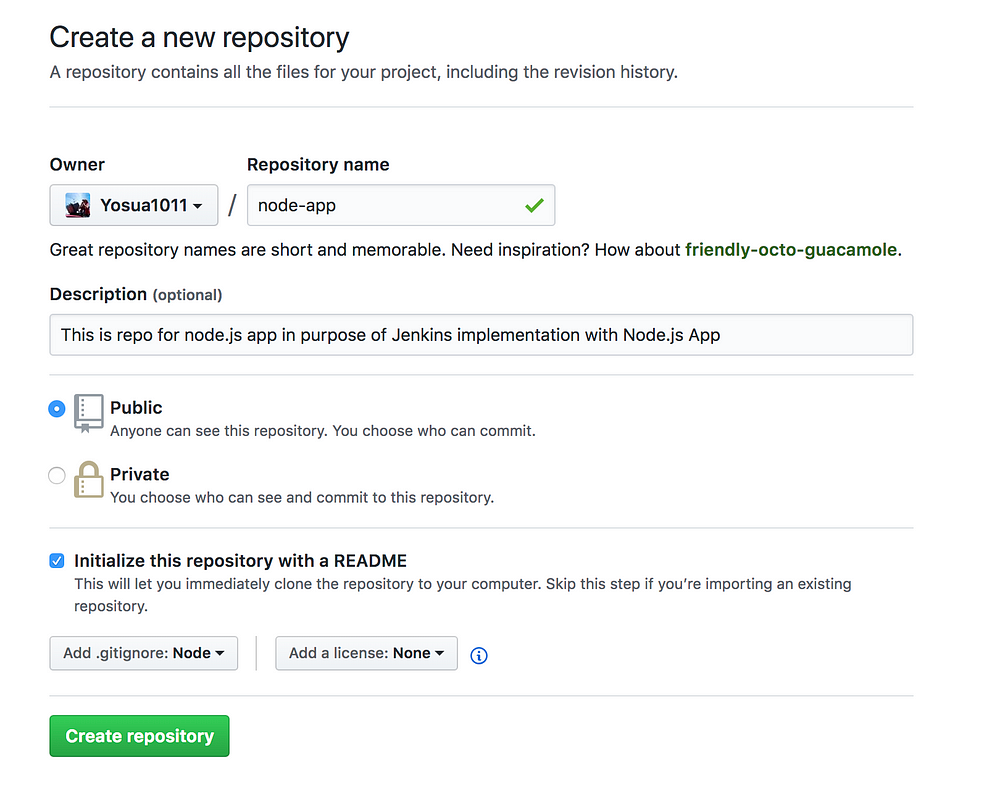
Create new repository under your GitHub account and name it “node-app”
- You can choose public or private repo
- Check the Initialize this repository with a README checkbox
- Select Node in the Add .gitignore dropdown menu
Now let’s clone our “node-app” repository to our local computer and navigate to it. Right now i’m using HTTPS method to clone the repository.
git clone https://github.com/<github username>/node-app.git
cd node-app
Create Node.js App
For the start, you must create package.json file in your project root. In this file, it will filled with list of the application dependencies. Copy paste the following content into it:
{
 “name”: “node-app”,
 “description”: “hello my node-app”,
 “version”: “0.0.1”,
 “private”: true,
 “scripts”: {
    “start”: “nodemon index.js”
 },
 “dependencies”: {
    “express”: “3.12.0”
 },
 “devDependencies”: {
    “mocha”: “1.20.1”,
    “supertest”: “0.13.0”
 }
}- express: Node.js framework
- mocha: Test framework for node (You can choose other testing framework if you wish like Jasmin, Jest, Tape, etc)
- supertest: Provide a high-level abstraction for testing HTTP
After we defined our dependencies in package.json file, we are ready to install them:
npm install
Great! Now, create a new file in the project root called index.js and copy paste the following code:
//importing node framework
var express = require(‘express’);

var app = express();
//Respond with "hello world" for requests that hit our root "/"
app.get(‘/’, function (req, res) {
 res.send(‘hello world’);
});
//listen to port 3000 by default
app.listen(process.env.PORT || 3000);

module.exports = app;
The app is going to respond with “hello world” when requests hitting our root URL (“/”).
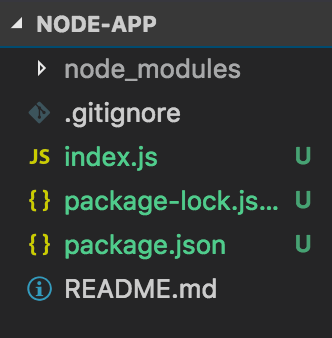
Here is the final folder structure:
To run your app, run this command:
node index.js
To view your app on your browser, try to navigate to http://localhost:3000
Writing Test
Our test is going to navigate to the site root (“/”) and verify that the page will responds with “hello world” text.
Under a new directory /test/ create test.js. Copy and paste the following code:
var request = require(‘supertest’);
var app = require(‘../index.js’);
describe(‘GET /’, function() {
 it(‘respond with hello world’, function(done) {
//navigate to root and check the response is "hello world"
request(app).get(‘/’).expect(‘hello world’, done);
});
});
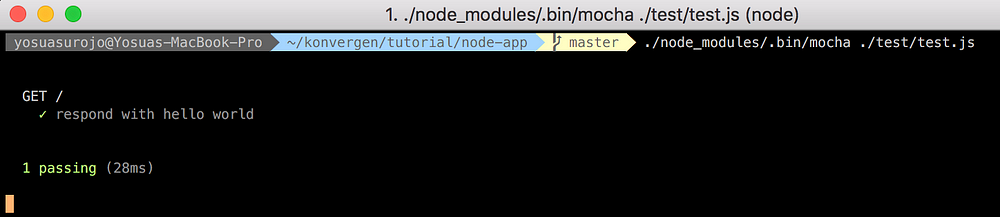
We are going to use Mocha to run our test. We installed Mocha as part of our devDependencies in package.json file. To run the test we need to pass Mocha our /test/test.js file as an argument.
./node_modules/.bin/mocha ./test/test.js
If you run this command from your project root you will see your test run and pass.
We would like Jenkins to execute our integration test after it builds. To achieve that we need to create a shell script in our project that trigger our test.
Make new /script/ folder and a file name test without the file extension. Copy paste the following code into the test file:
#!/bin/sh
./node_modules/.bin/mocha ./test/test.js
Grant the script executable permissions:
chmod +x script/test
Test it by executing the shell script from the project root:
./script/test
The test result:
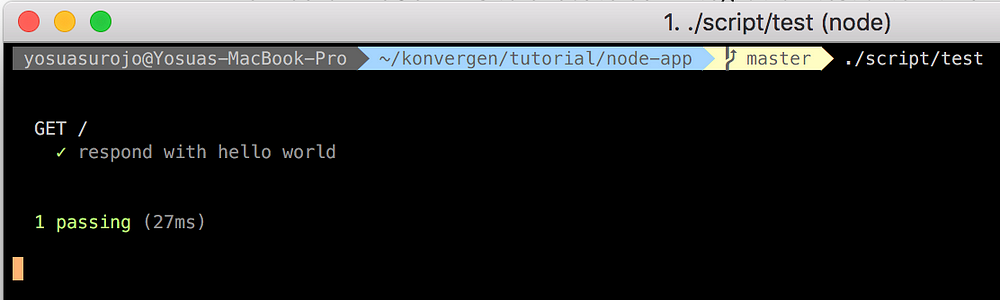
Integration test is ready and now we ready to push our code to GitHub:
git add .
git commit -m ‘simple node app with test’
git push origin master
Serve Node App
We are going to host our Node.js app on AWS EC2 instance. Follow these steps:
- Log into your AWS console search for and select EC2
- Select Launch Instance
- Step 1: Choose an Amazon Machine Image (AMI) Select the free tiered Ubuntu Server 16.04 LTS
- Accept the defaults for Step 2: Choose an Instance Type and choose Next
- Accept the defaults for Step 3: Configure Instance Details
- Once completed select Add Storage and accept the defaults for Step 4: Add Storage
- Accept the defaults for Step 5: Add Tags
- Step 6: Configure Security Group and choose Create a new security group
- Confirm that port 22 is configured to allow access to your VM
- Click Add Rule and make sure it is Custom TCP
- Fill the Port Range field with 3000 since our node app is run on port 3000
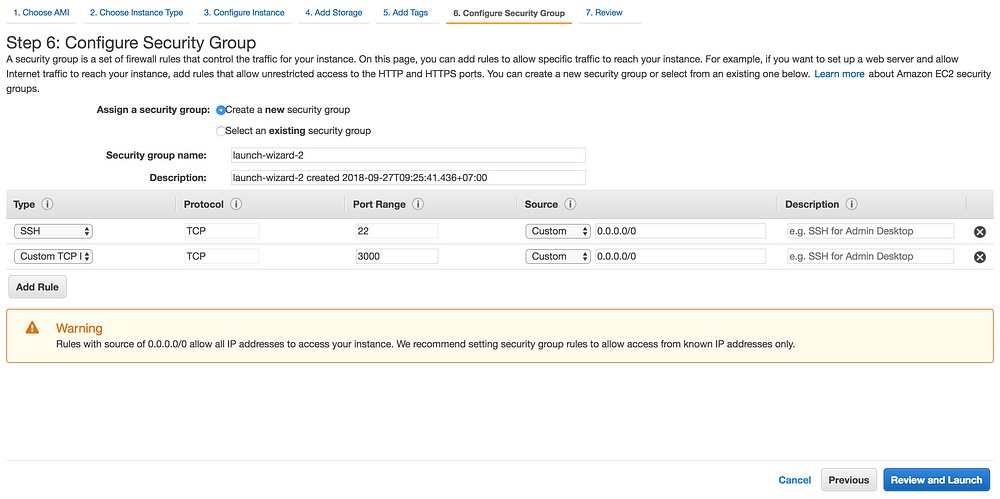
- Finally select Review and Launch
- Step 7: Review Instance Launch
After you select Launch you will be prompted to Select an existing key pair or to create one
I have previously set up a key pair and I will select Choose an existing key pair
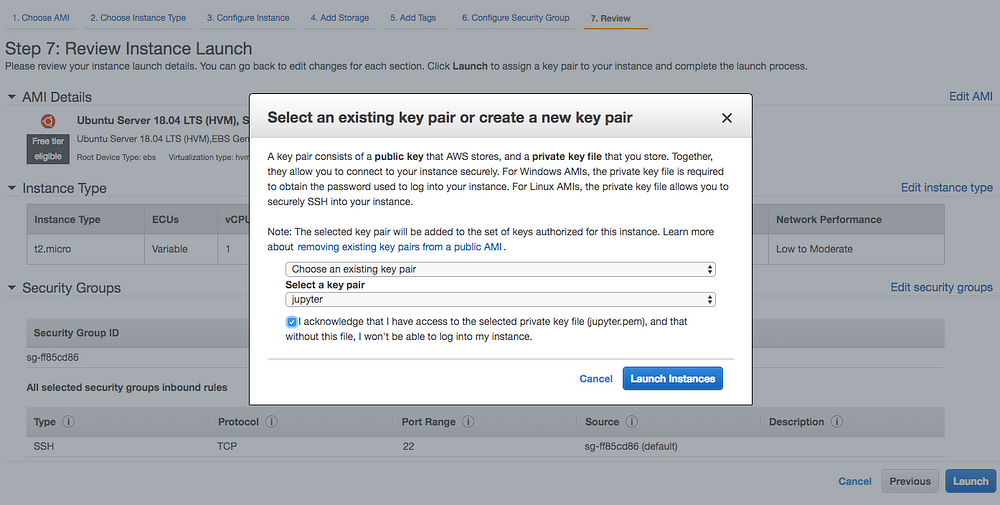
Now, try to connect to your EC2 instance using SSH
Setup GitHub SSH Configuration
For now, we will just pull our node-app repository into our ec2 instance. For convenience, we will setup GitHub SSH configuration starting from:
Generating a new SSH key
- Make sure in your terminal, you are already connect with your EC2 instance
- Paste the text below, substituting in your GitHub email address
ssh-keygen -t rsa -b 4096 -C "your_email@example.com"
- This creates a new ssh key, using the provided email as a label with respond like this
Generating public/private rsa key pair.
- When you’re prompted to “Enter a file in which to save the key,” press Enter. This accepts the default file location
Enter a file in which to save the key (/Users/you/.ssh/id_rsa): [Press enter]
- At the prompt, type a secure passphrase. But, if you don’t want to use any passphrase you could just press Enter
Enter passphrase (empty for no passphrase): [Type a passphrase]
Enter same passphrase again: [Type passphrase again]
Adding a new SSH key to your GitHub account
- Check your SSH key
If your SSH key file has a different name than the example code, modify the filename to match your current setup. When copying your key, don’t add any newlines or whitespace. Run this command to check your SSH key
cat ~/.ssh/id_rsa.pub
- Copy your SSH key
- Go to GitHub
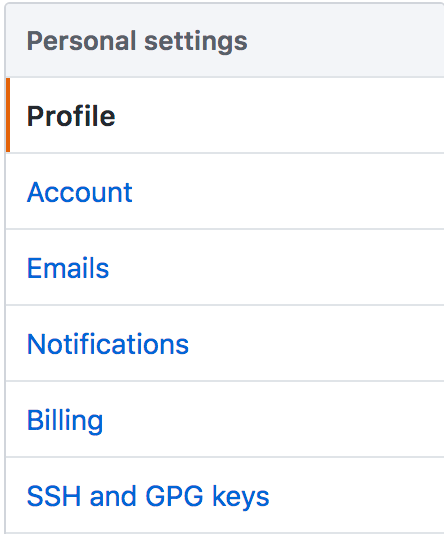
- In the upper-right corner of the page, click your profile photo, then click Settings
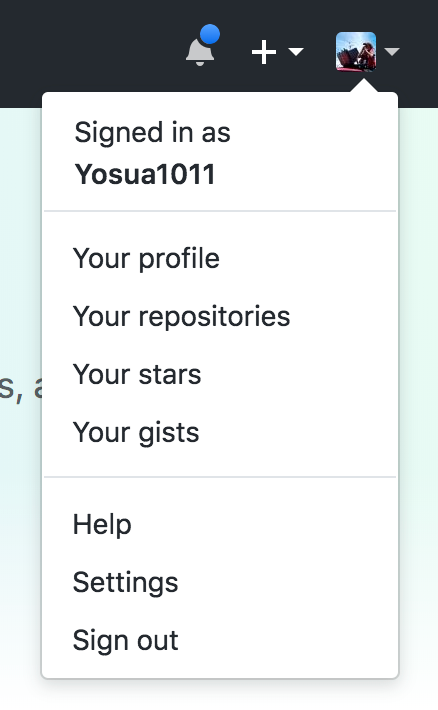
- In the user settings sidebar, click SSH and GPG keys
- Click New SSH key or Add SSH key

- In the “Title” field, add a descriptive label for the new key. For this project, you might call this key “Node-app EC2”
- Paste your key into the “Key” field
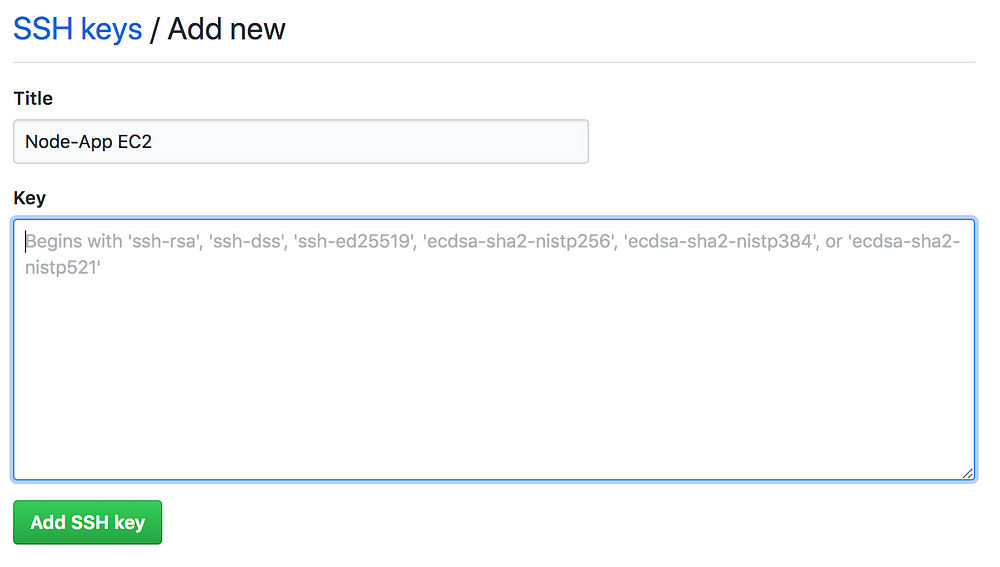
- Click Add SSH key
- If prompted, confirm your GitHub password
Clone the repository
After we complete SSH configuration setup, we could continue to clone our repository into our EC2 instance
Install git
sudo yum update -y
sudo yum install git -y

git clone git@github.com:<github username>/node-app.git
Your repository has been successfully clone into EC2 instance but it hasn’t served yet
Nice! You’ve just finish with the part 2. Now, let’s continue to the next part which will talk about integrate your Node.js App with Jenkins.
'AWS_NCP > AWS DevOps 구축' 카테고리의 다른 글
| 11. 스프링부트로 웹 서비스 출시하기 - AWS Linux 재기동 후 쉘 실행 (0) | 2019.03.14 |
|---|---|
| AWS에서 Jenkins와 Node.js를 이용한 서비스 구성 Part 3: Jenkins - Node.js App Integration (0) | 2019.03.02 |
| AWS에서 Jenkins와 Node.js를 이용한 서비스 구성 Part1: Jenkins 구성 (0) | 2019.03.02 |
| 10. 스프링부트로 웹 서비스 출시하기 - 10. 1인 개발 시작시 알았으면 좋았을 것들 (0) | 2019.02.27 |
| 9. 스프링부트로 웹 서비스 출시하기 - 9. 도메인구매, HTTPS 연결, 타임존 수정 (0) | 2019.02.27 |